
How to Track Macros: A Step-by-Step Guide to Take Control of Your Diet

If you’re on your way to transforming your physique by fixing your diet plans but don’t know how to track your macros, here is a step-by-step guide to learn exactly how you can count and keep track of your calories, protein, carbohydrates, fats, and much more!
Macro tracking may seem intimidating at first, but it’s actually one of the most empowering habits you can adopt if you want real control over your health and fitness goals. Whether you’re aiming to lose fat, gain muscle, or maintain a healthy body, understanding what goes into your food is key.
Step 1: Get Yourself a Kitchen Scale
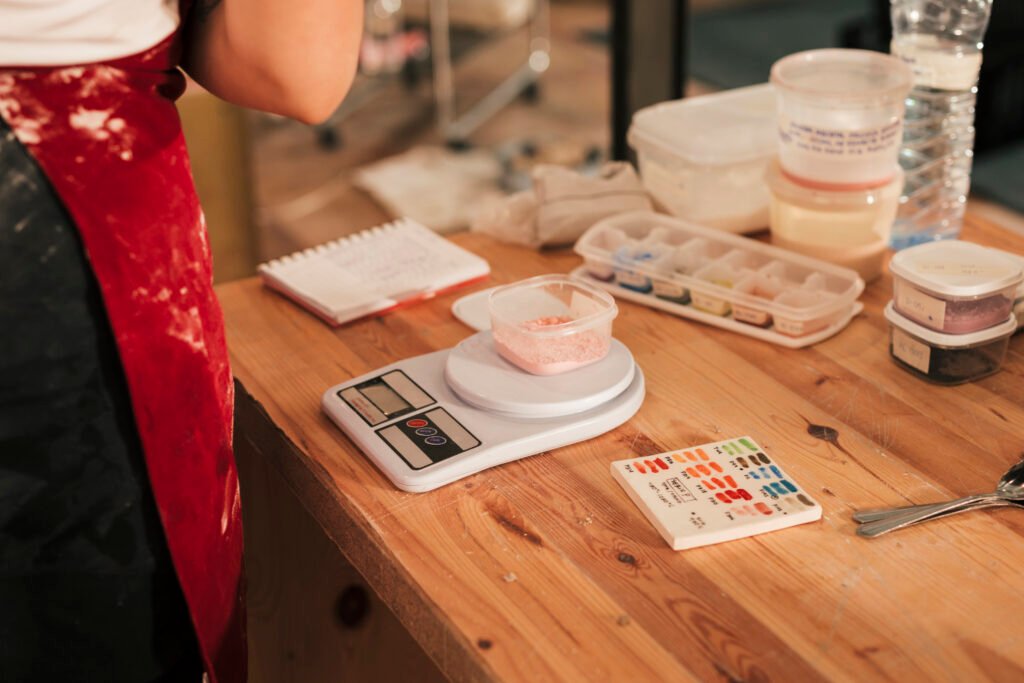
Get yourself a kitchen scale. It might seem like a hassle to weigh your food, but it will feel very natural once you learn how to do it.
You might feel like it’s not doable, especially because of the household you live in or the people around you, but we can assure you that it actually is not that big of a deal. The pros of ‘getting in shape’ outweigh the cons of ‘coming off as weird’.
A digital kitchen scale gives you precise readings in grams or ounces—exactly what you need for accurate macro tracking.
Pro Tips:
Choose a scale with a Tare function.
Keep it accessible in your kitchen.
Clean it regularly to maintain accuracy.
Eyeballing portions can be off by 50–100% or more, which adds up quickly. A kitchen scale eliminates that guesswork.
Step 2: Download a Food Tracking App
Download a food tracking app. We prefer MyFitnessPal or Chronometer. They are very popular in the fitness industry and provide fairly accurate results. Fitness apps have made our lives significantly easier. They literally do all the calculations with a breakdown of the macros as well.
However, you can definitely come across a less accurate result if you don’t pick from the verified entries, which we explain in Step 4.
Other Great Apps:
Lose It! – Simple and beginner-friendly
Carb Manager – Ideal for keto/low-carb users
MacroFactor – Scientific, adaptive tracking (paid)
Most apps include a barcode scanner, letting you scan packaged food for quick logging.
Tip: Be sure to set your fitness goals in the app. It will calculate your daily calorie and macro targets based on your weight, activity level, and goal (fat loss, maintenance, or muscle gain).
Step 3: Measure Food Accurately
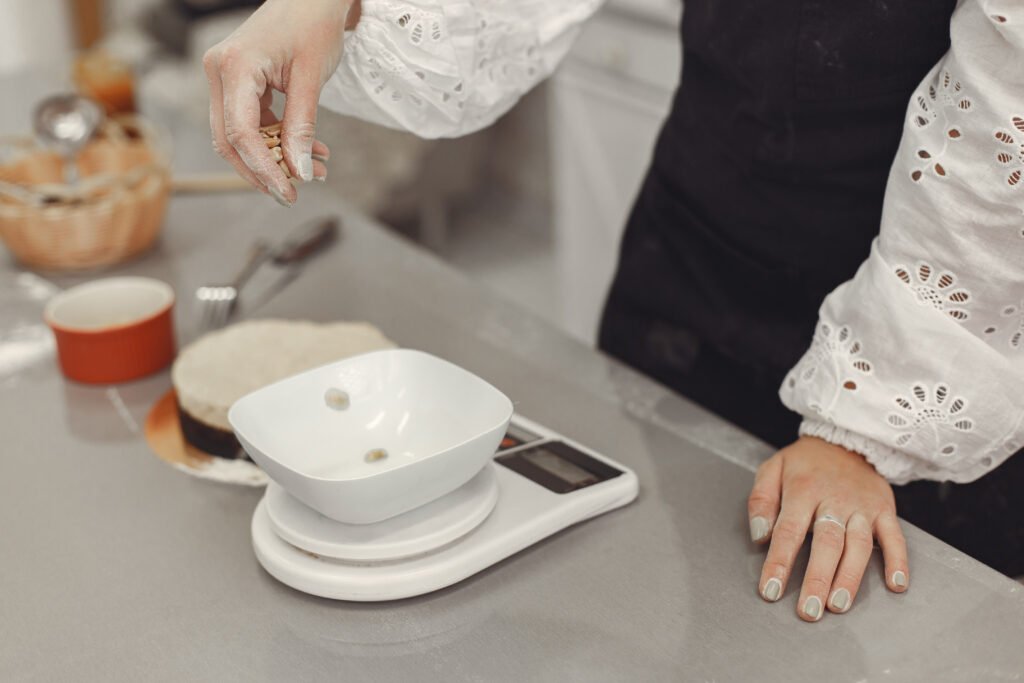
Measure food accurately. Once you have your kitchen scale, you need to be able to measure your food so that you don’t mistakenly include extra weight—like the plate your food is on.
To measure correctly:
Place your plate on the scale before turning it on.
ORTurn on the scale, place your plate, and then press ‘Tare’ to reset it to 0.
Now add your food and stop once you reach the desired weight.
Example:
Want 150g of rice? Watch the number increase as you scoop rice onto the plate, and stop once it hits 150g.
What If You Already Have Food on the Plate?
No problem. Just:
Place the plate on the scale.
Turn it on.
Add the new item (e.g., a piece of chicken) and record the weight shown.
Raw vs. Cooked Food Weights
One common question: Should I weigh food raw or cooked?
General Guidelines:
Meat/Fish: Weigh raw for consistency.
Rice/Grains: Weigh cooked, unless the label specifies dry weight.
Veggies: Can be either—just match what your app uses.
As long as you’re consistent (always weighing rice cooked, for example), you’ll be fine.
Step 4: Log Food Properly in the App
With both apps, after you’ve signed in, you’ll find an option to log food. Search for the food you want to track, and you’ll likely find several options.
Choose the one that:
Has a verification tick.
Closely matches your food (cooked vs. raw, brand, preparation method).
Set:
Serving size to 1.0g
Number of servings to the weight in grams (e.g., 150 for 150g of food)
Example:
To track 150g of cooked white rice:
Search “Cooked white rice”
Select a verified entry
Set serving size to 1.0g
Set servings to 150
You’ll now see the macros for 150g of rice
What Are Verified Entries?
These are food entries checked for accuracy by the app or its community. Look for a green checkmark or similar symbol. They’re the best way to avoid incorrect calorie/macro data.
Tracking Homemade Meals
For mixed or homemade dishes, you can:
Log each ingredient separately by weight
Create a custom recipe in the app and reuse it later
Once it’s cooked, divide it into portions (e.g., 4 servings) and log one portion at a time.
Less Processed = More Accurate
The less processed your food is, the more accurate your tracking will be.
Whole foods like:
Eggs
Raw chicken
Oats
Vegetables
Rice
…have predictable nutrition data.
Highly processed foods—like restaurant meals, fast food, or packaged snacks—can have wide variations in ingredients and preparation methods, making your log far less accurate.
Whenever possible, opt for whole or minimally processed ingredients for reliable tracking.
Step 5: Log Food to the Appropriate Meal Section
Log specific food to the specific meal. Add breakfast items to the ‘Breakfast’ section, lunch to ‘Lunch’, and so on.
Most apps allow:
Custom meal names (e.g., “Snack” or “Pre-Workout”)
Adding multiple meals per day
Copying meals across days for efficiency
Organizing meals like this helps you spot trends—like if you’re too carb-heavy at dinner or not getting enough protein at breakfast.
Pro Tip: Save meals or foods you eat frequently so you can add them with one tap.
Step 6: Observe the Dashboard and Daily Totals
Observe the overview of your total calories in the ‘Dashboard’ section. You can see:
Your daily calorie goal
The amount you’ve consumed
Any surplus or deficit (usually shown with a ‘-’ sign if you’re under)
You’ll also see a breakdown of:
Carbs
Protein
Fat
The goal is to stay within your macro targets and consistently hit your calorie range.
How to Use the Dashboard Effectively
Fat Loss: Stay in a slight calorie deficit
Muscle Gain: Aim for a small surplus with high protein
Maintenance: Stay within ±50–100 calories of your maintenance
Don’t stress if one day is off—focus on weekly consistency, not daily perfection.
Bonus Tips for Better Macro Tracking
1. Understand the Caloric Value of Macros
1g protein = 4 calories
1g carbohydrate = 4 calories
1g fat = 9 calories
This helps you quickly assess how “macro-dense” a food is. For example:
Olive oil = 100% fat (high calorie)
Chicken breast = high protein, low fat
Bread or rice = mostly carbs
2. Track Snacks and Condiments
Small things add up fast:
Cooking oil
Salad dressing
Peanut butter
Sugary sauces
Log everything—even a spoonful.
3. Don’t Chase Perfection
You won’t get it 100% right every time. And that’s okay. Macro tracking is a learning tool, not a punishment. Over time, you’ll develop an intuitive understanding of your food even without a scale or app.
Tracking your macros is one of the most effective ways to take control of your fitness journey. Once you master the basics, it becomes second nature—and it gives you the data you need to make real progress toward your goals.
Whether you’re cutting, bulking, or maintaining, knowing your numbers takes the guesswork out of your meals. And remember: this isn’t forever. Once you’ve developed strong habits and awareness, you can ease off the tracking and maintain your results naturally.